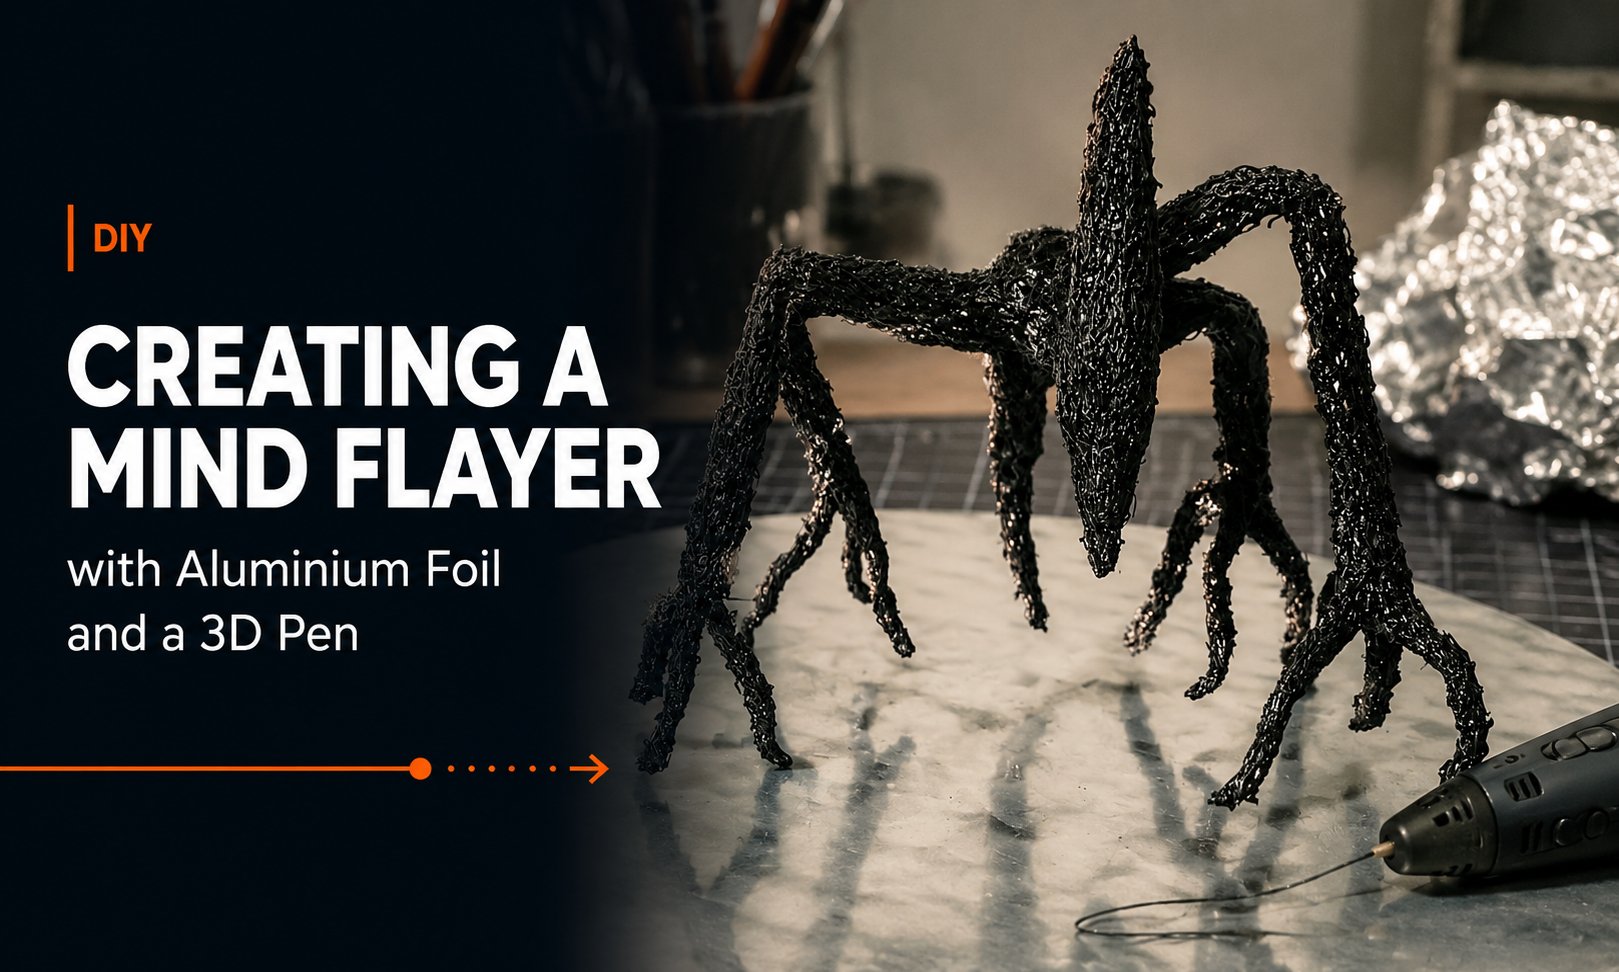
Creating a Mind Flayer with Aluminium Foil and a 3D Pen

Creating a mind flayer with aluminium foil and a 3D pen

A DIY Guide for Creature Sculpting Enthusiasts for all Stranger Things fans! The Mind Flayer!

If you love blending sculpture with emerging technology, few projects are as satisfying as creating a detailed creature using a 3D pen over a handmade armature. In this tutorial, we’ll walk through the process of building a Mind Flayer–inspired creature using aluminium foil for the internal structure and a 3D pen for the outer skin.

This hybrid technique combines traditional sculpting principles with the flexibility of 3D printing—perfect for hobbyists, prop makers, and fans of dark fantasy or sci-fi designs.
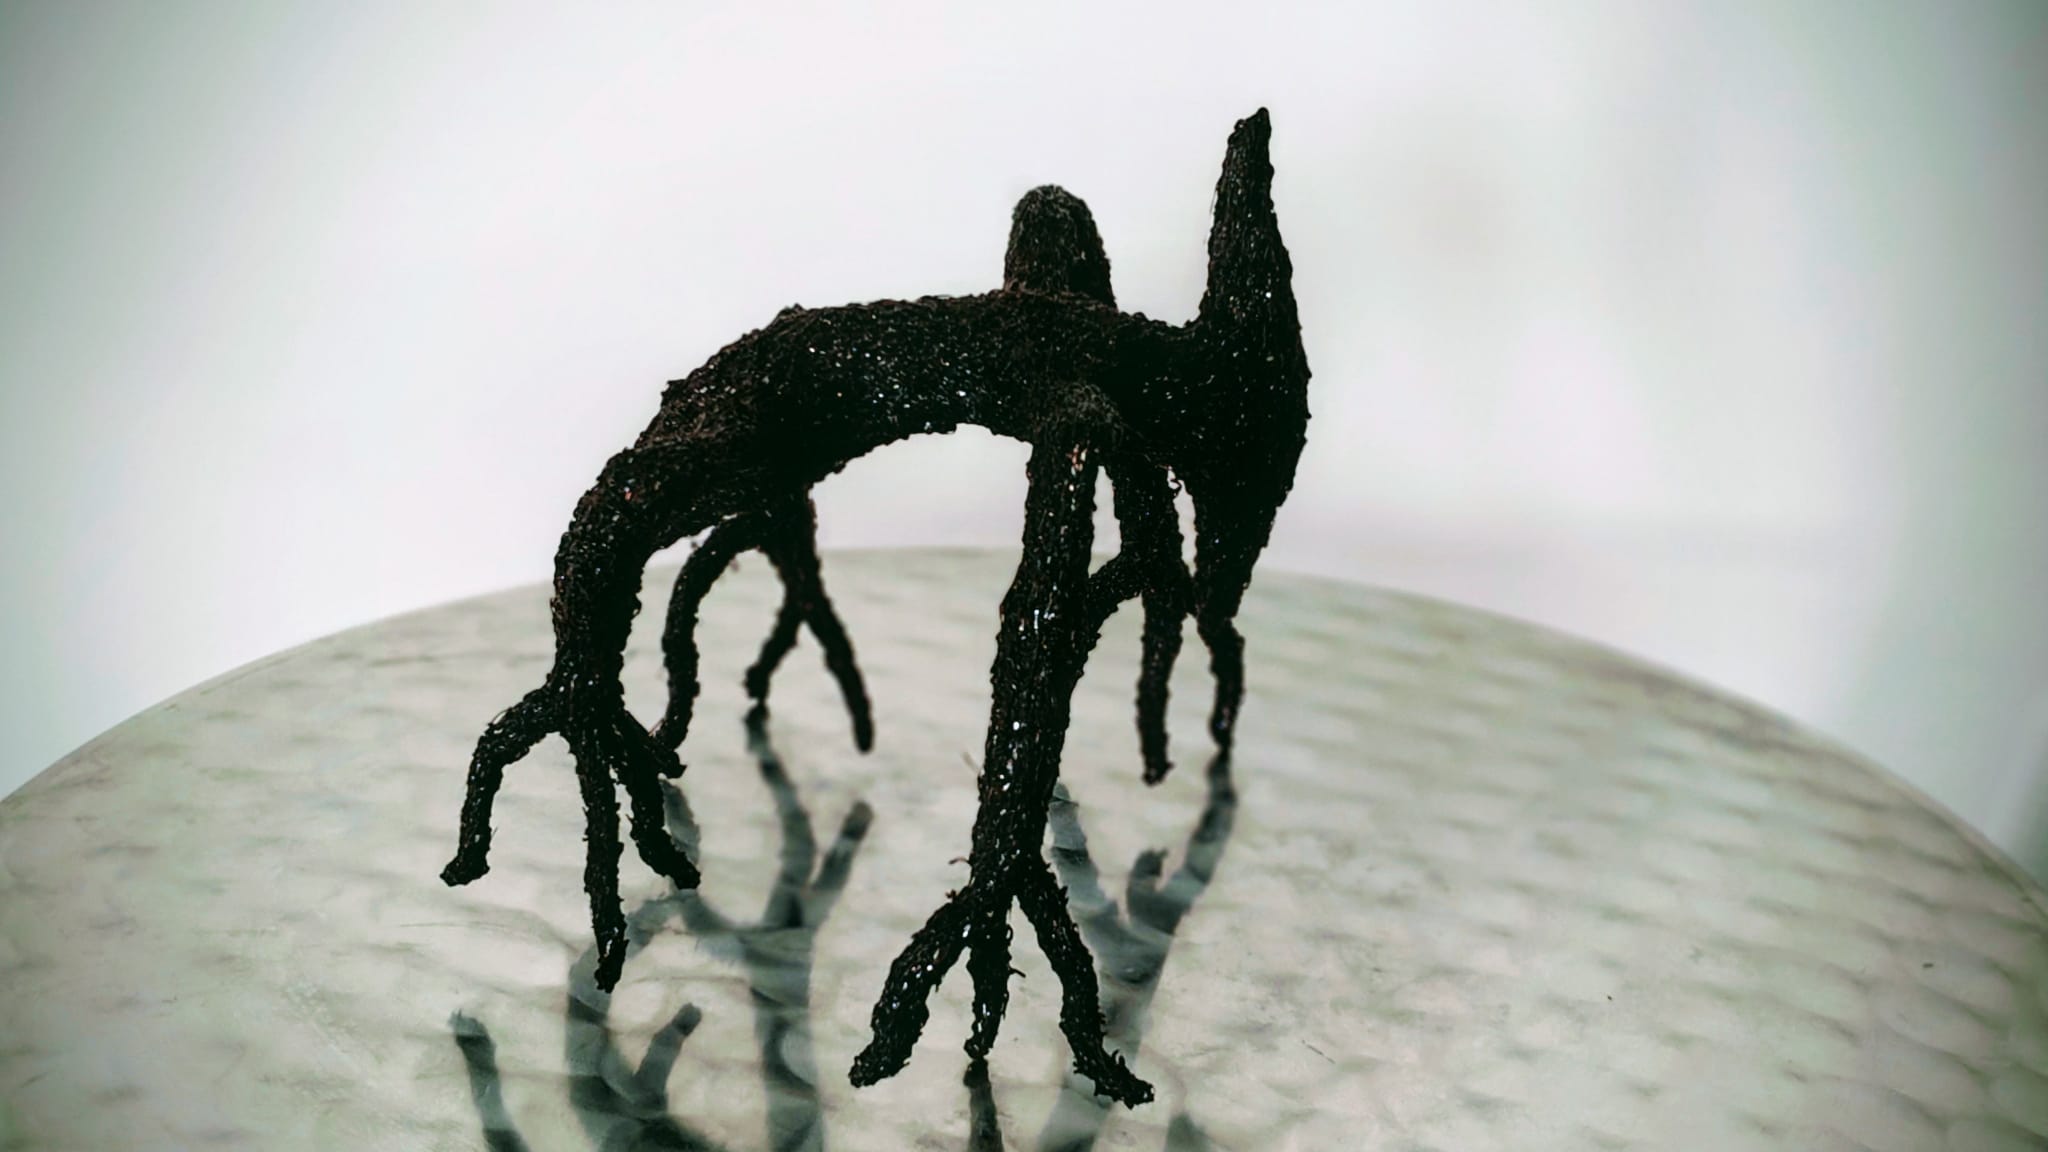
Mind Flayer: Side view

Why Use Aluminium Foil + 3D Pen?

Aluminium foil offers several advantages as an internal structure:

  • Lightweight and inexpensive
  • Easy to bend, twist, and reshape
  • Strong enough to support complex poses
  • Excellent heat tolerance for 3D pen plastic

Paired with a 3D pen, foil becomes the foundation for highly organic forms that would be difficult to model digitally.
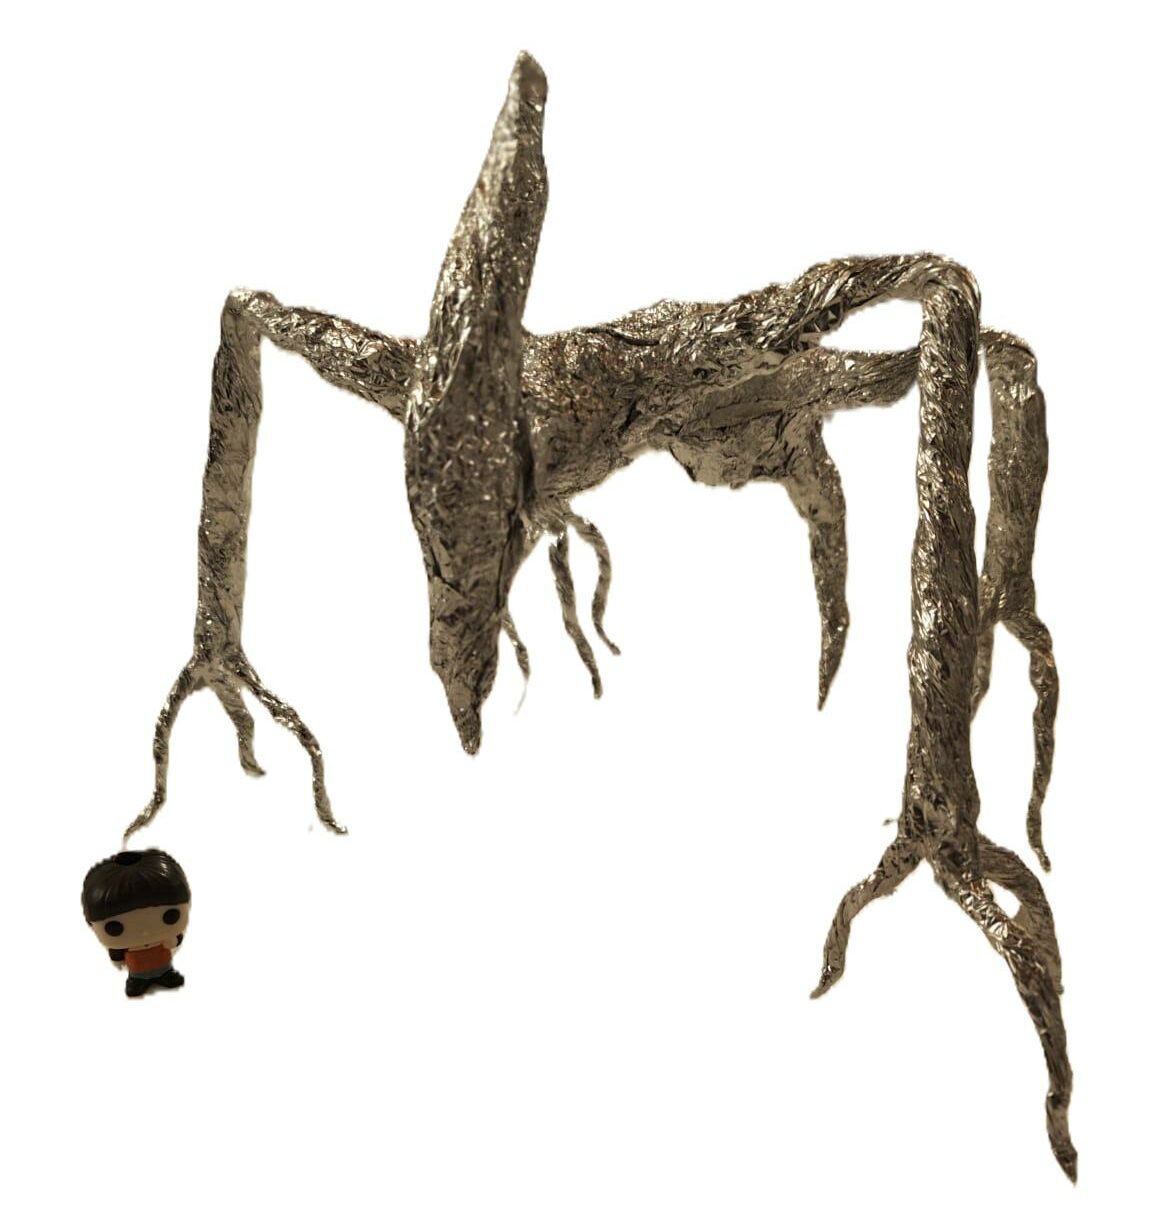
Aluminium Body Mind Flayer

Materials & Tools

  • Aluminium foil (heavy-duty preferred)
  • 3D pen
  • PLA or ABS filament (black or dark brown recommended)
  • Needle-nose pliers
  • Craft knife or scissors
  • Heat-resistant work surface
  • Optional: acrylic paints, clear coat, fine sandpaper

Step 1: Designing the Creature

Before building, sketch or mentally map the creature:

  • Elongated body
  • Multiple legs or tendrils
  • Raised head or crest
  • Asymmetrical, unsettling silhouette

Think in terms of gesture first—the overall pose is more important than fine detail at this stage.


Step 2: Building the Aluminium Foil Armature

Tear strips of foil and twist them into thick cords. These become:

  • Spine
  • Legs
  • Arms/tentacles
  • Head structure

Join pieces by wrapping additional foil around the joints and compressing firmly.

Tip:
Work from the core outward. Create the torso first, then attach limbs, then smaller appendages.

At this stage, focus on:

  • Balance
  • Stability
  • Clear separation between limbs

The armature should stand on its own before moving forward.


Step 3: Refining the Shape

Once the basic skeleton is complete:

  • Add extra foil to bulk out muscles or body mass
  • Pinch and compress areas to sharpen angles
  • Smooth large surfaces by pressing with fingers or pliers

This step defines the creature’s anatomy and proportions.


Step 4: First 3D Pen Layer (Structural Skin)

Set the 3D pen to a moderate temperature suitable for your filament.

Begin coating the foil:

  • Start with thin lines
  • Trace along limbs and joints
  • Build a web of plastic rather than solid walls

This first layer acts as a shell, locking the foil in place.

Rotate the sculpture frequently to avoid sagging.
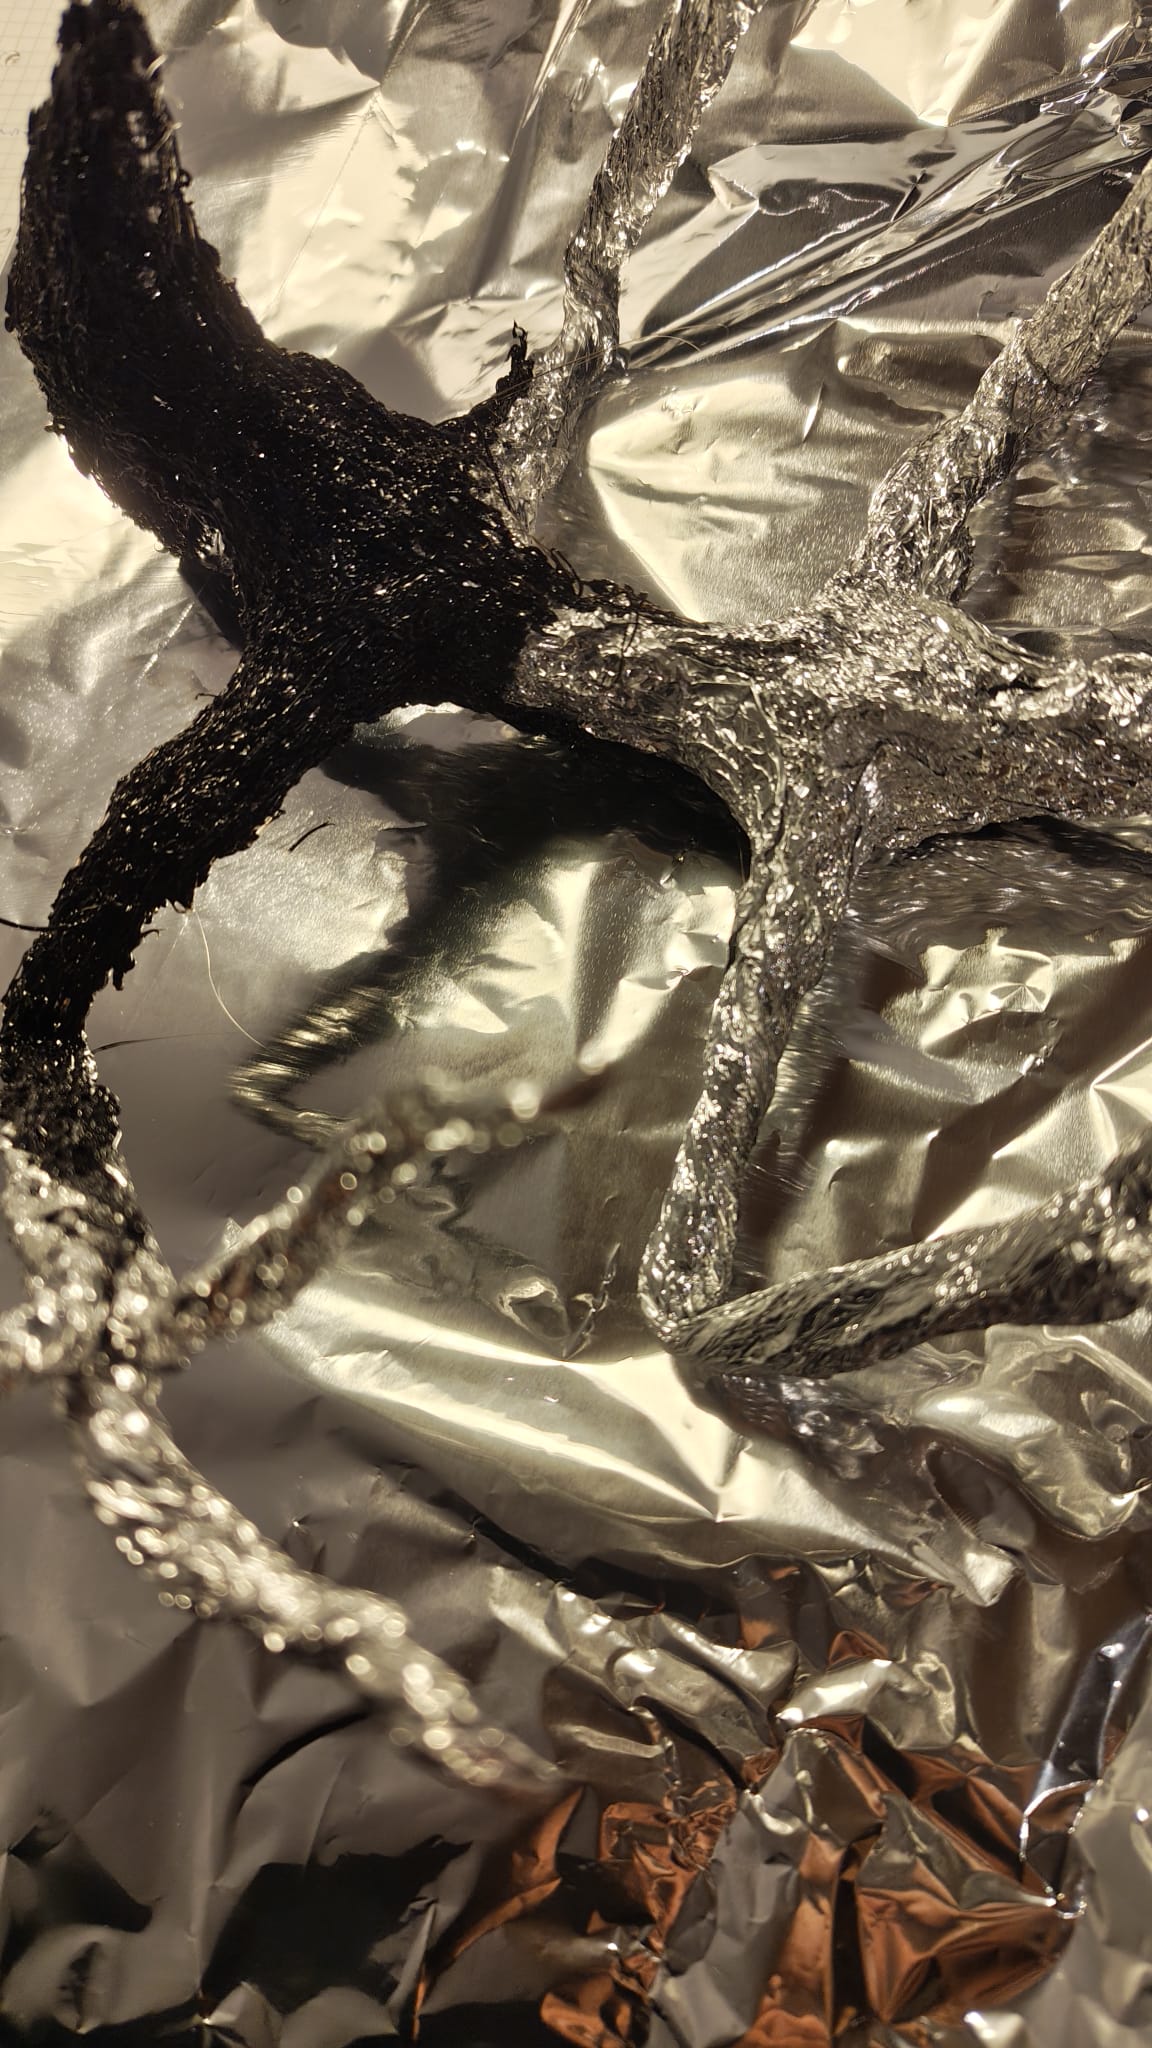
Work in Progress: 3d Pen Coating

Step 5: Thickening and Texturing

After the shell hardens:

  • Add additional layers to strengthen weak areas
  • Vary line thickness to create organic texture
  • Use short, broken strokes to simulate rough skin

For a Mind Flayer aesthetic:

  • Emphasize uneven surfaces
  • Add ridges and lumps
  • Create dangling tendrils beneath the head

Imperfection is your ally here.


Step 6: Defining Details

Use the 3D pen like a sculpting tool:

  • Draw sharp creases for joints
  • Add layered strands for tentacles
  • Build spikes, crests, or horn-like structures

If mistakes occur, let plastic cool, then trim with a craft knife.
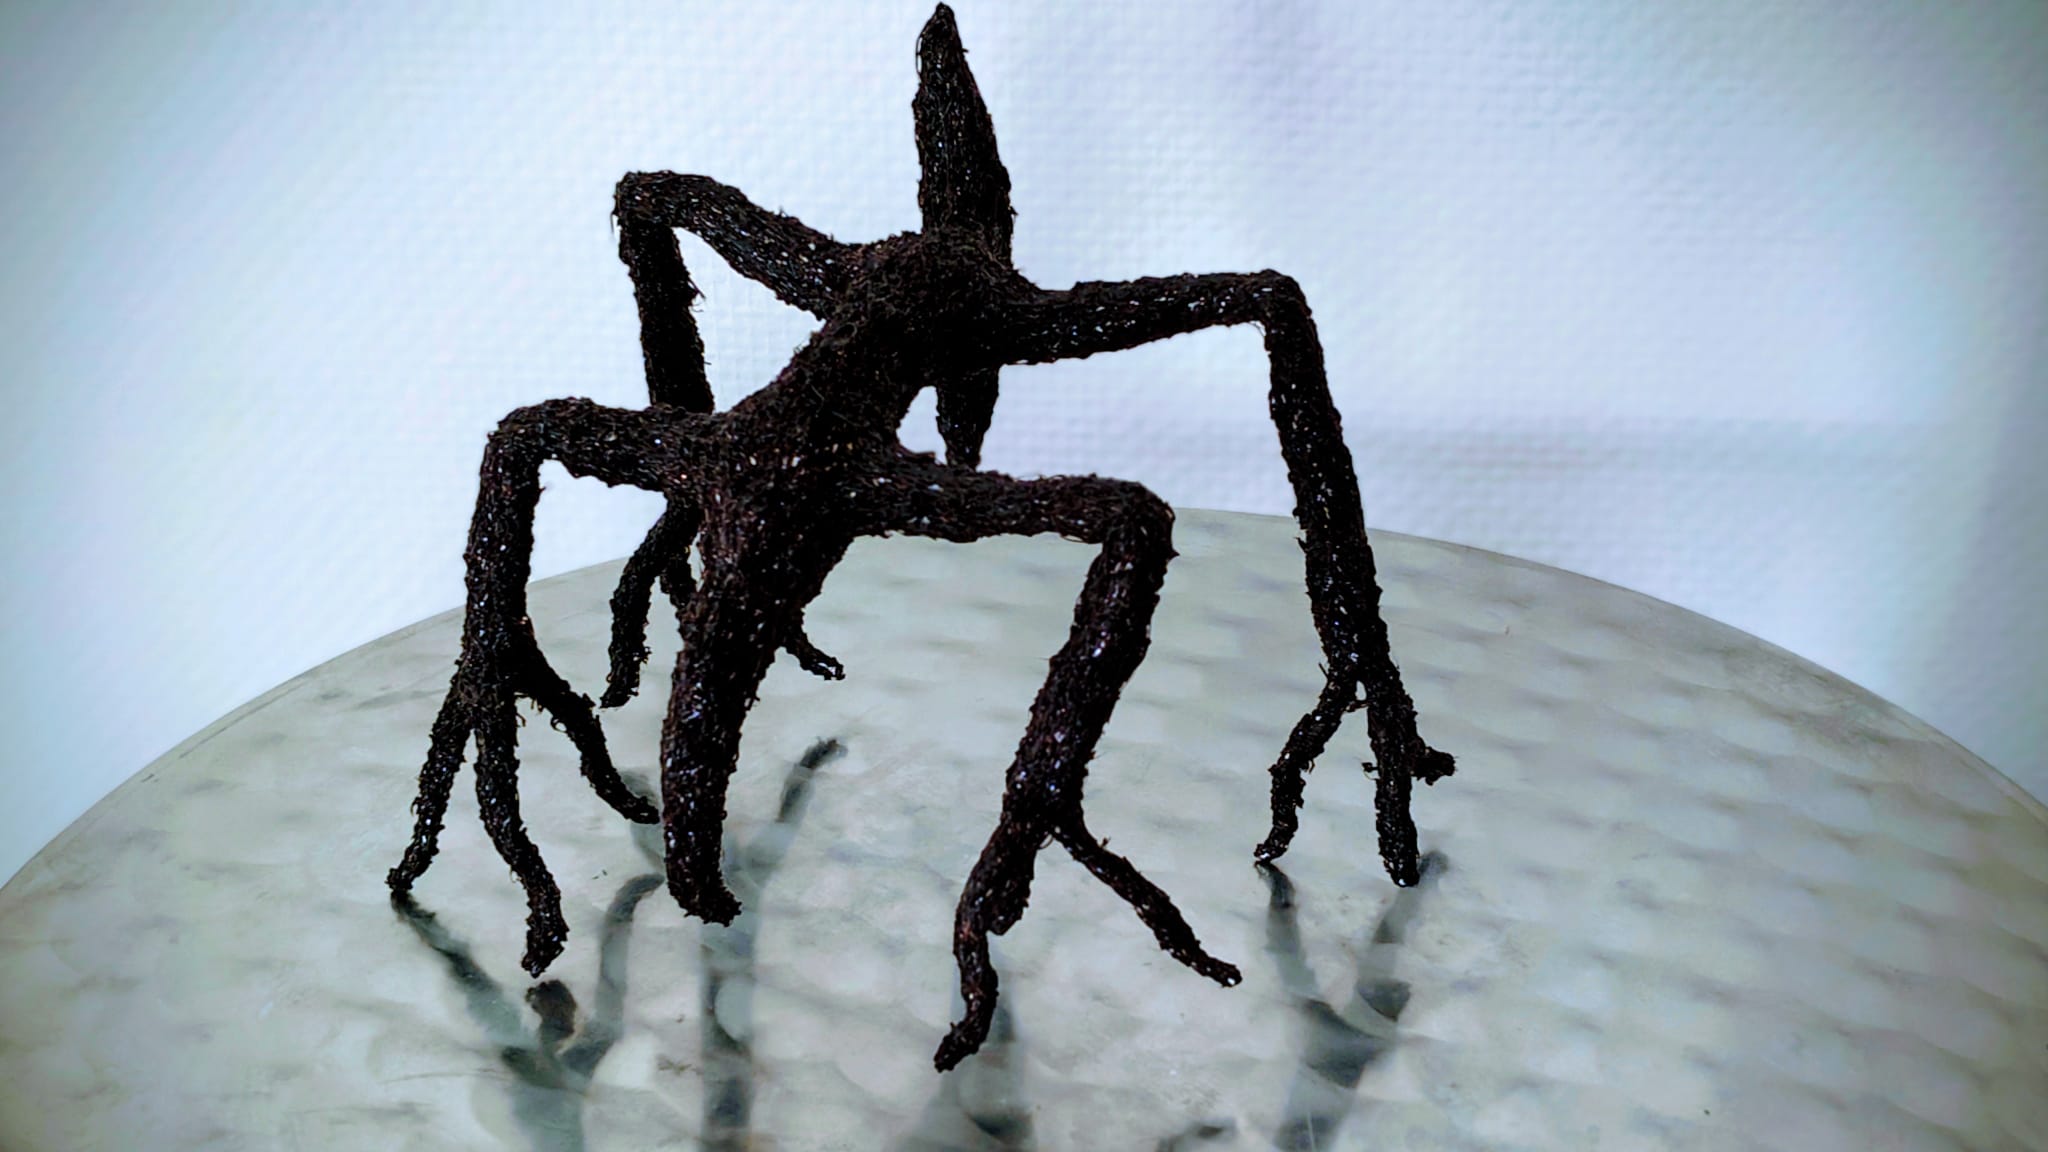
Mind Flayer rear view

Step 7: Optional Finishing

If you want a more polished look:

  • Lightly sand rough areas
  • Apply acrylic paint (dry brushing works well)
  • Seal with matte or satin clear coat

Dark tones with subtle highlights enhance the creature’s depth.


Step 8: Display and Photography

Place the creature on a reflective or neutral surface. Strong directional lighting will cast dramatic shadows and emphasize its silhouette.

Consider photographing from low angles to enhance scale and menace.


Final Thoughts

This aluminium foil + 3D pen method opens up huge creative possibilities:

  • Custom monsters
  • Fantasy creatures
  • Sci-fi aliens
  • Stop-motion puppets

Each piece will be unique, and that’s part of the charm. The process encourages experimentation, improvisation, and hands-on problem solving.

If you’re looking to push your 3D pen beyond flat drawings and into true sculpture, this technique is a powerful place to start.

Happy building!
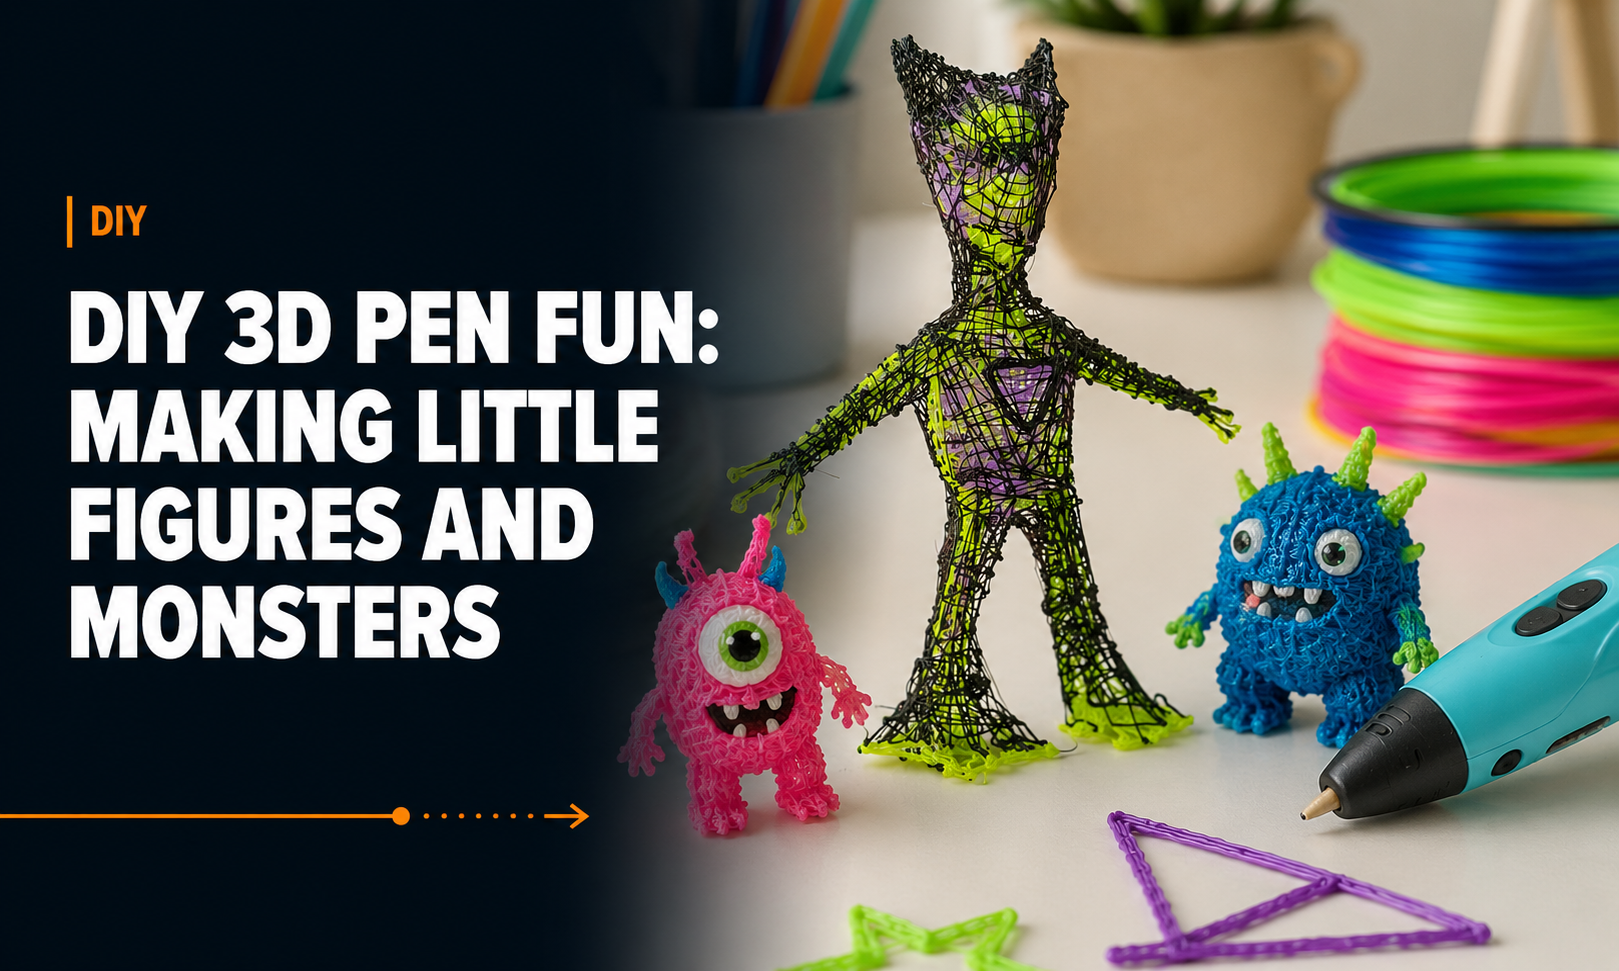
DIY 3D Pen Fun: Making Little Figures and Monsters

DIY 3d pen fun: Making little figures and monsters

Imperfect, quirky, creative — and totally doable

If you’re looking for a project that’s fun for all ages, full of personality, and doesn’t require precision or special skills, making little figures and monsters with a 3D pen is the perfect place to start. These creations can be cute, creepy, abstract, or downright bizarre — and that’s exactly what makes them so enjoyable.

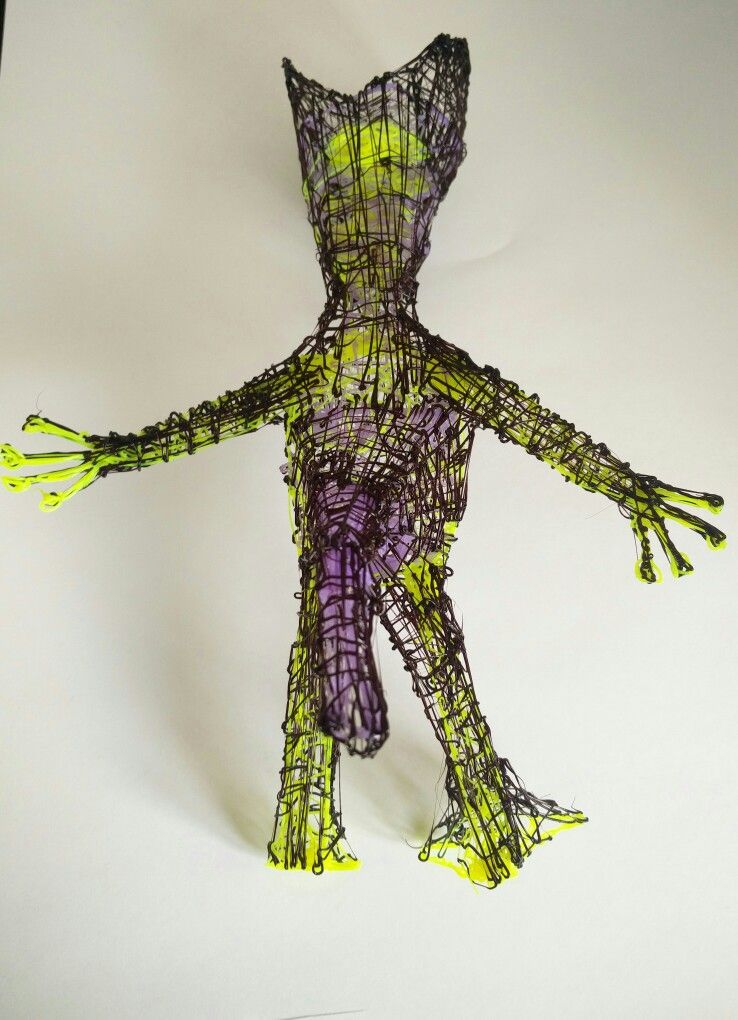
The figure in the photo is a great example: a wiry, expressive little monster built entirely by layering simple lines of filament. It looks complex, but the process is surprisingly easy once you get the hang of it.

3d pen printed little monster A
3d pen printed little monster backside

What You Need

  • A 3D pen
  • Filament in a few colors
  • Paper or a heat-safe surface
  • Optional: a simple sketch to follow
  • Optional: glow-in-the-dark filament or paint

How to Make Your Own Little Monster

1. Start With a Simple Skeleton

Begin by drawing the rough outline of your figure directly onto paper. One vertical line for the spine, a circle for the head, a triangle for the torso, and simple lines for arms and legs.
Once the basic shape is drawn, trace over it with filament to make a flat “wireframe.”

2. Build It Up in Layers

Carefully lift the flat shape off the paper and begin “drawing” in mid-air. Add more lines of filament around the outline to give it structure. The beauty of this step is that the lines don’t have to be perfect — the loose, webby texture gives your figure character.

3. Shape the Head

Heads are one of the easiest parts. Start by making a loop or circle, then slowly thicken it by weaving filament back and forth. Add pointed ears, horns, big eyes — whatever fuels your monster ideas.

4. Add Color and Personality

Use contrasting filament colors to fill in certain areas, like the eyes, chest, or hands. Glowing filament or glow paint creates an otherworldly effect, especially on alien-style figures.

5. Feet and Base

For more stability, make the feet slightly wider or add a small flat base. Monsters with oversized feet stand especially well.

6. Final Touches

Add texture by doodling extra lines over the limbs. Create claws, spikes, or even tiny accessories. Kids especially love designing ridiculous features — giant hands, long necks, funny hair, or superpowers.


Why These Projects Are Great

Making monsters and little characters is incredibly freeing. There’s no “right” way for a monster to look. No symmetry required. No need to hide imperfections.
The more irregular the shapes, the more personality your creation has.

It’s a playful, low-pressure project that sparks imagination and encourages experimentation. And once you’ve made one creature, you’ll want to build a whole family of them.

Just grab a 3D pen, pick a color, and start doodling in 3D.
You can absolutely make your own monsters — yes, you can do it!

DIY Fun With Kids: Creating Toys and Figures With a 3D Pen

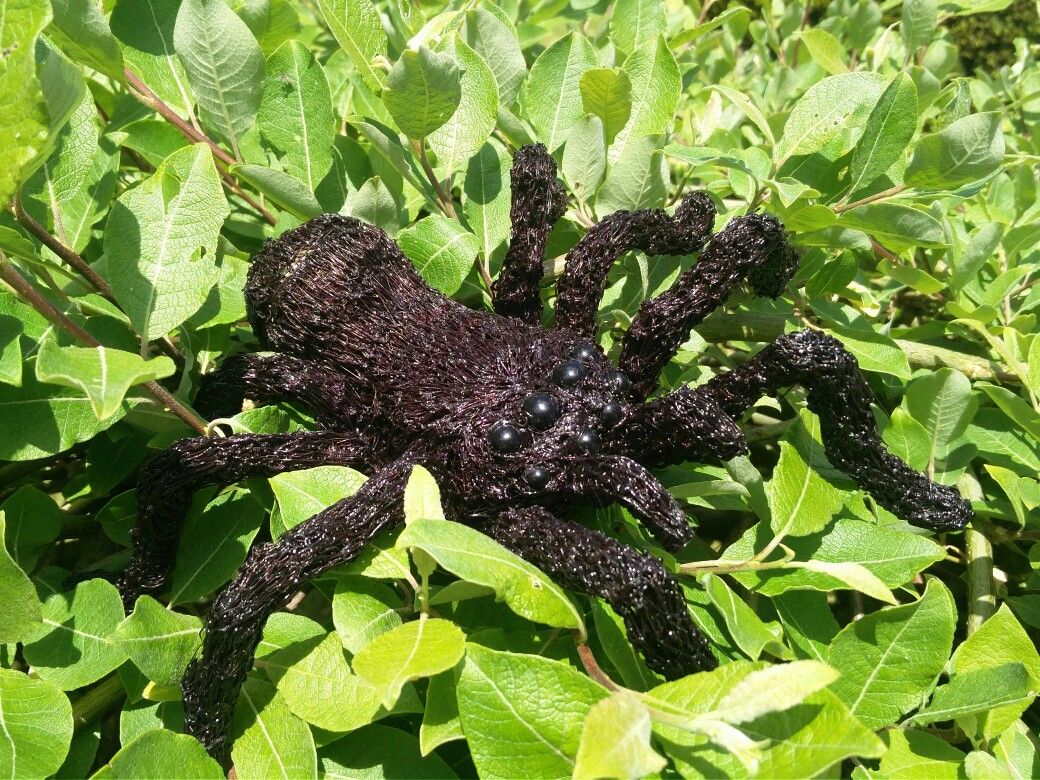
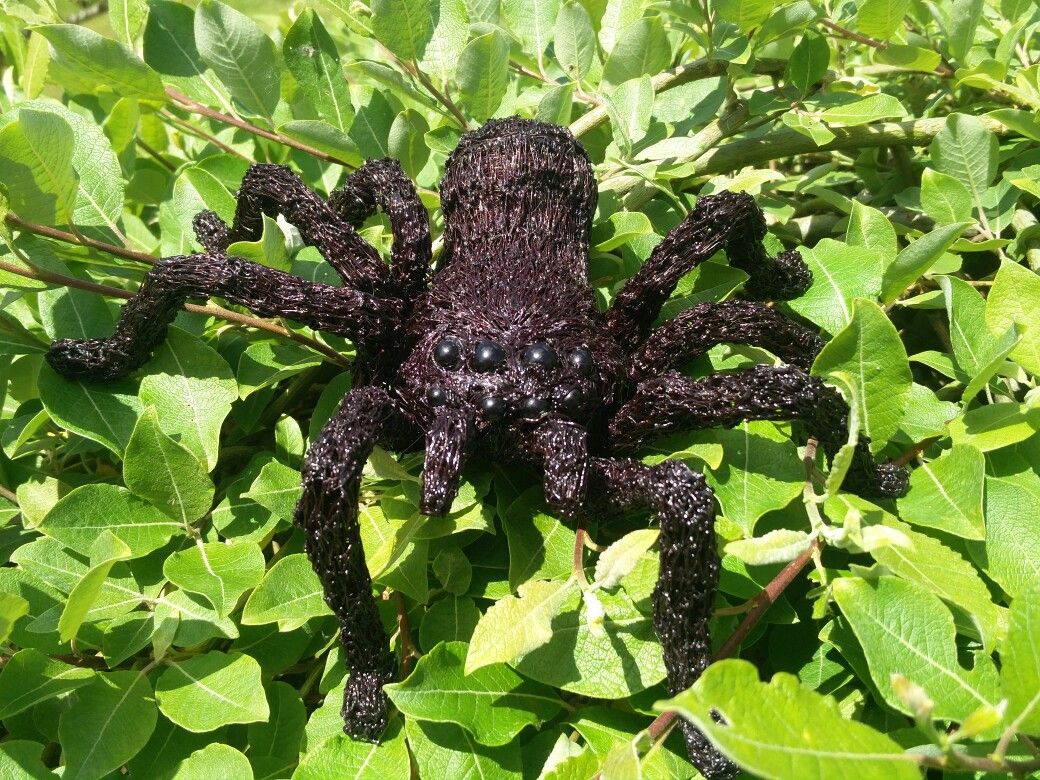
DIY fun with kids, creating a spider that almost looks real

Featuring a glow-in-the-dark spooky spider

If you’ve ever held a 3D pen and wondered what kinds of projects you could create with kids, here’s the good news: it’s easier than you think. A 3D pen is basically a drawing tool that lets you build upward, outward, and in three dimensions—perfect for young imaginations.

Today’s featured project is a great example of how simple and fun it can be. We created a scary-looking spider with a touch of glowing magic, and it’s a project that anyone can make, even beginners.

3d pen printed spider B

Why 3D Pens Are Great for Kids’ DIY Projects

A 3D pen is accessible, quick to set up, and instantly rewarding. Kids get to see their creations take shape right in front of them, which keeps them engaged and excited. There’s no waiting for a print to finish, no complicated software, and mistakes can be turned into new ideas on the fly.

It also encourages hands-on creativity, problem-solving, and the joy of experimenting with shapes and textures.

3d pen printed spider A

The Glow-in-the-Dark Spider Project

This spider looks surprisingly realistic, but the process behind it is straightforward. You only need a 3D pen, black filament, a ping pong ball, glow-in-the-dark paint, and a few small beads or drops of filament for the eyes.

1. Shape the Legs

Start by drawing eight legs using the 3D pen. Kids can help outline wavy or curved shapes on a piece of parchment paper or a work mat. Perfect symmetry isn’t important—natural spiders aren’t perfectly consistent either.

2. Build the Head and Upper Body

Use the 3D pen to draw a small rounded head and a slightly larger front body section. These can be hollow or filled in, depending on how sturdy you want the figure to be.

3. Form the Abdomen Using a Ping Pong Ball

This is where the project becomes especially fun. Take a ping pong ball and begin coating it with black filament from the 3D pen. Once it’s mostly covered, paint it with glow-in-the-dark paint. The paint charges in sunlight or under indoor lights, making the spider glow at night.

4. Assemble the Spider

Attach the legs one by one to the body, warming the filament slightly so it bonds firmly. Kids love this step because the spider starts to take shape instantly.

5. Add the Eyes

Use tiny beads or small dots of cooled filament to create the spider’s eyes. You can add as many as you like—real spiders often have eight.


The Best Part

Once the paint is dry, turn off the lights and watch the abdomen glow. Kids are always delighted to see their creation come alive with light.

This project often inspires more ideas: glowing insects, creative creatures, robots, or seasonal decorations. With a 3D pen, the possibilities are almost endless.

Working together on a project like this is not only creative but also a great bonding activity. You don’t need special skills—just curiosity and the willingness to play with shapes and ideas.

Just do it and create!