

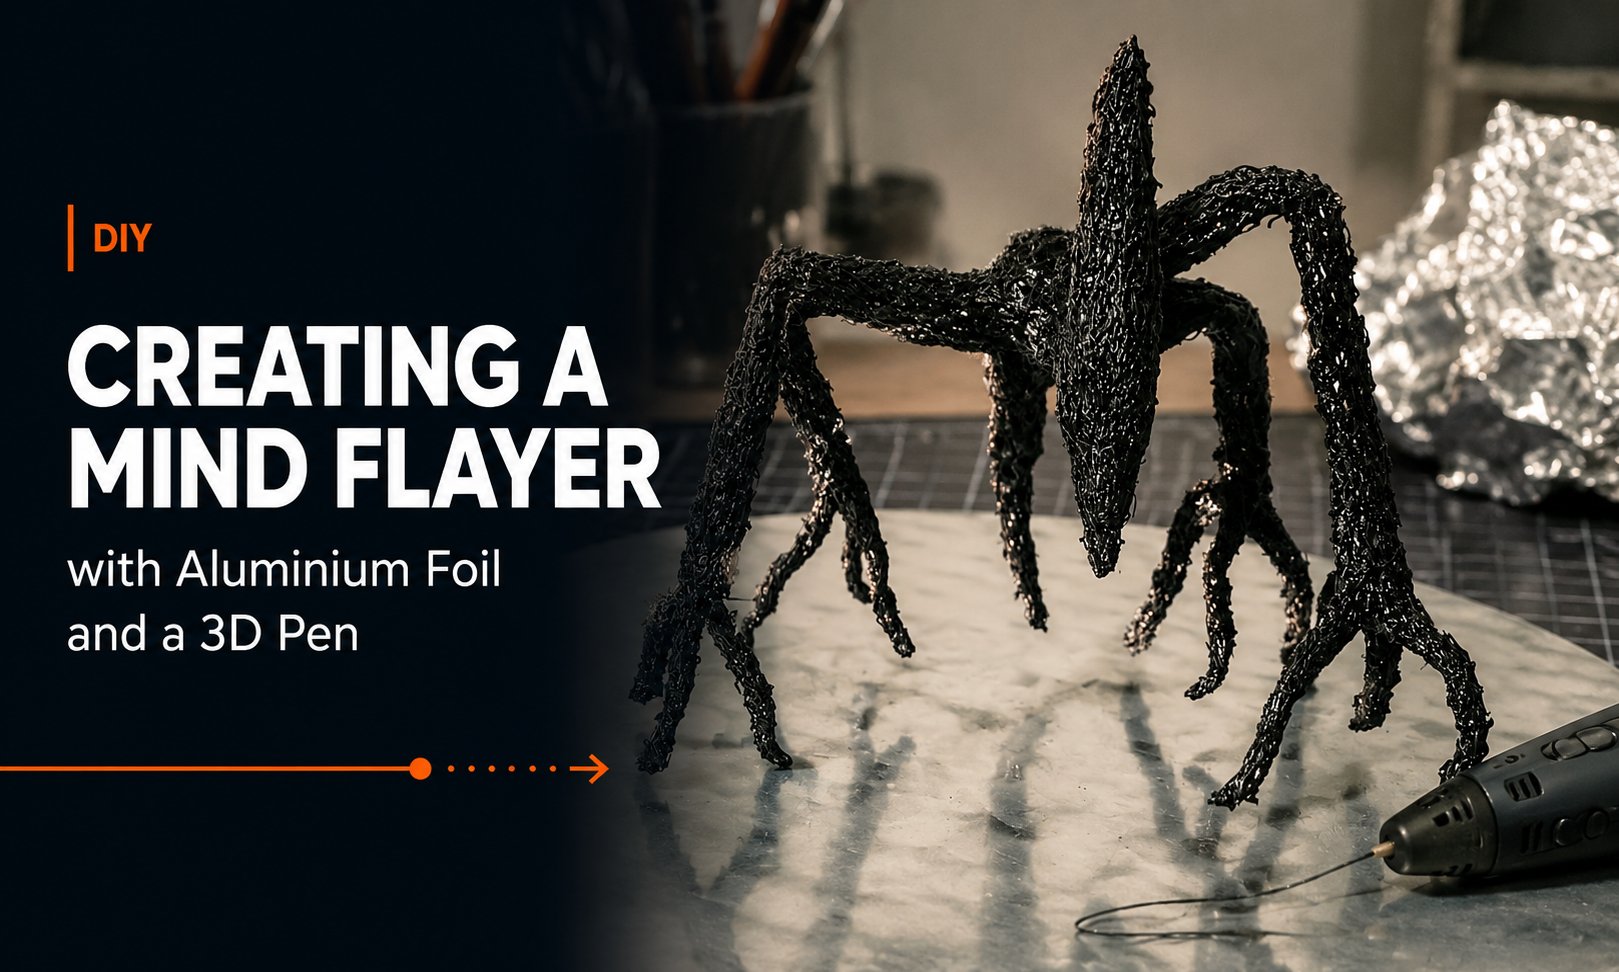
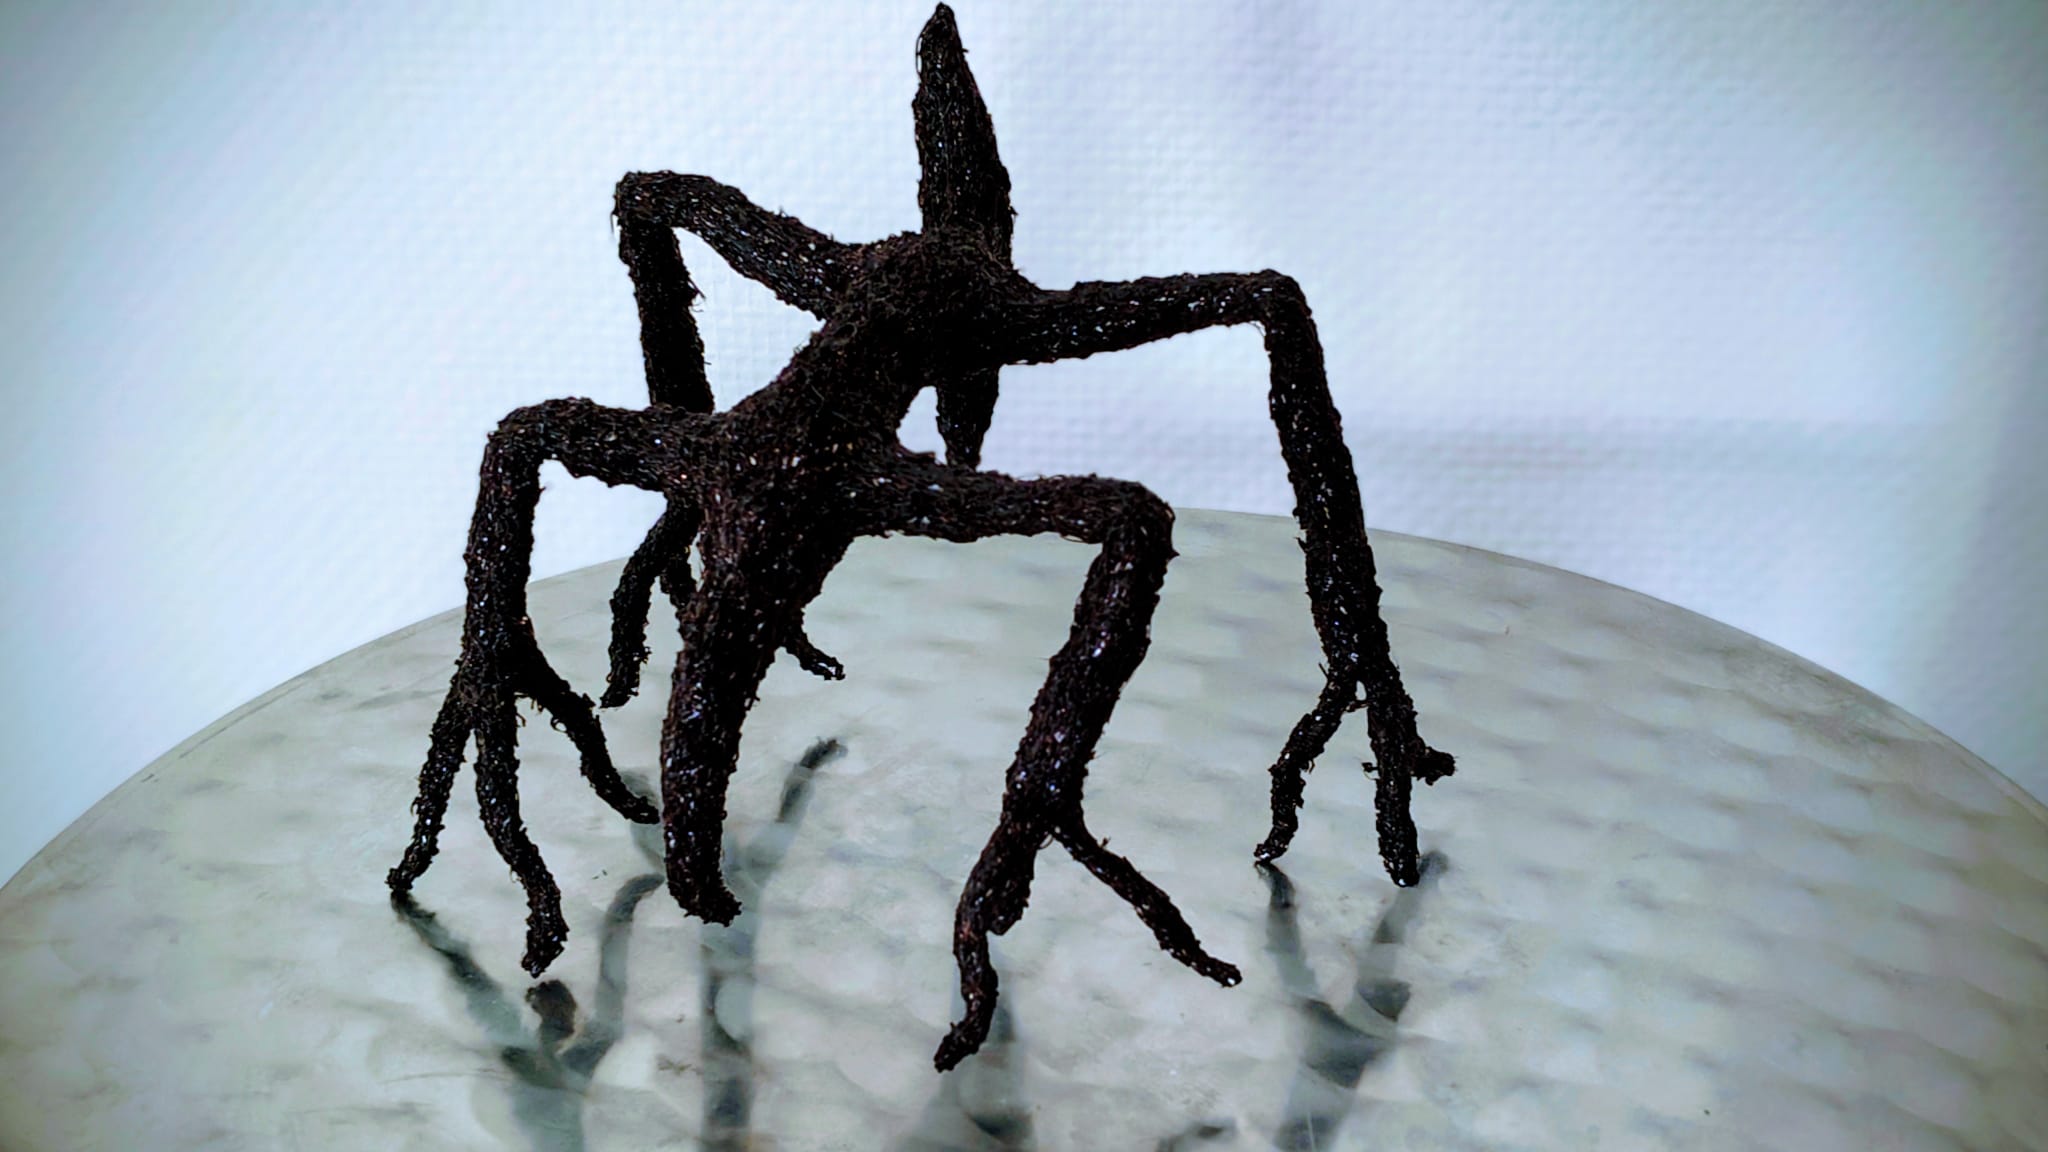
A DIY Guide for Creature Sculpting Enthusiasts for all Stranger Things fans! The Mind Flayer!
If you love blending sculpture with emerging technology, few projects are as satisfying as creating a detailed creature using a 3D pen over a handmade armature. In this tutorial, we’ll walk through the process of building a Mind Flayer–inspired creature using aluminium foil for the internal structure and a 3D pen for the outer skin.
This hybrid technique combines traditional sculpting principles with the flexibility of 3D printing—perfect for hobbyists, prop makers, and fans of dark fantasy or sci-fi designs.
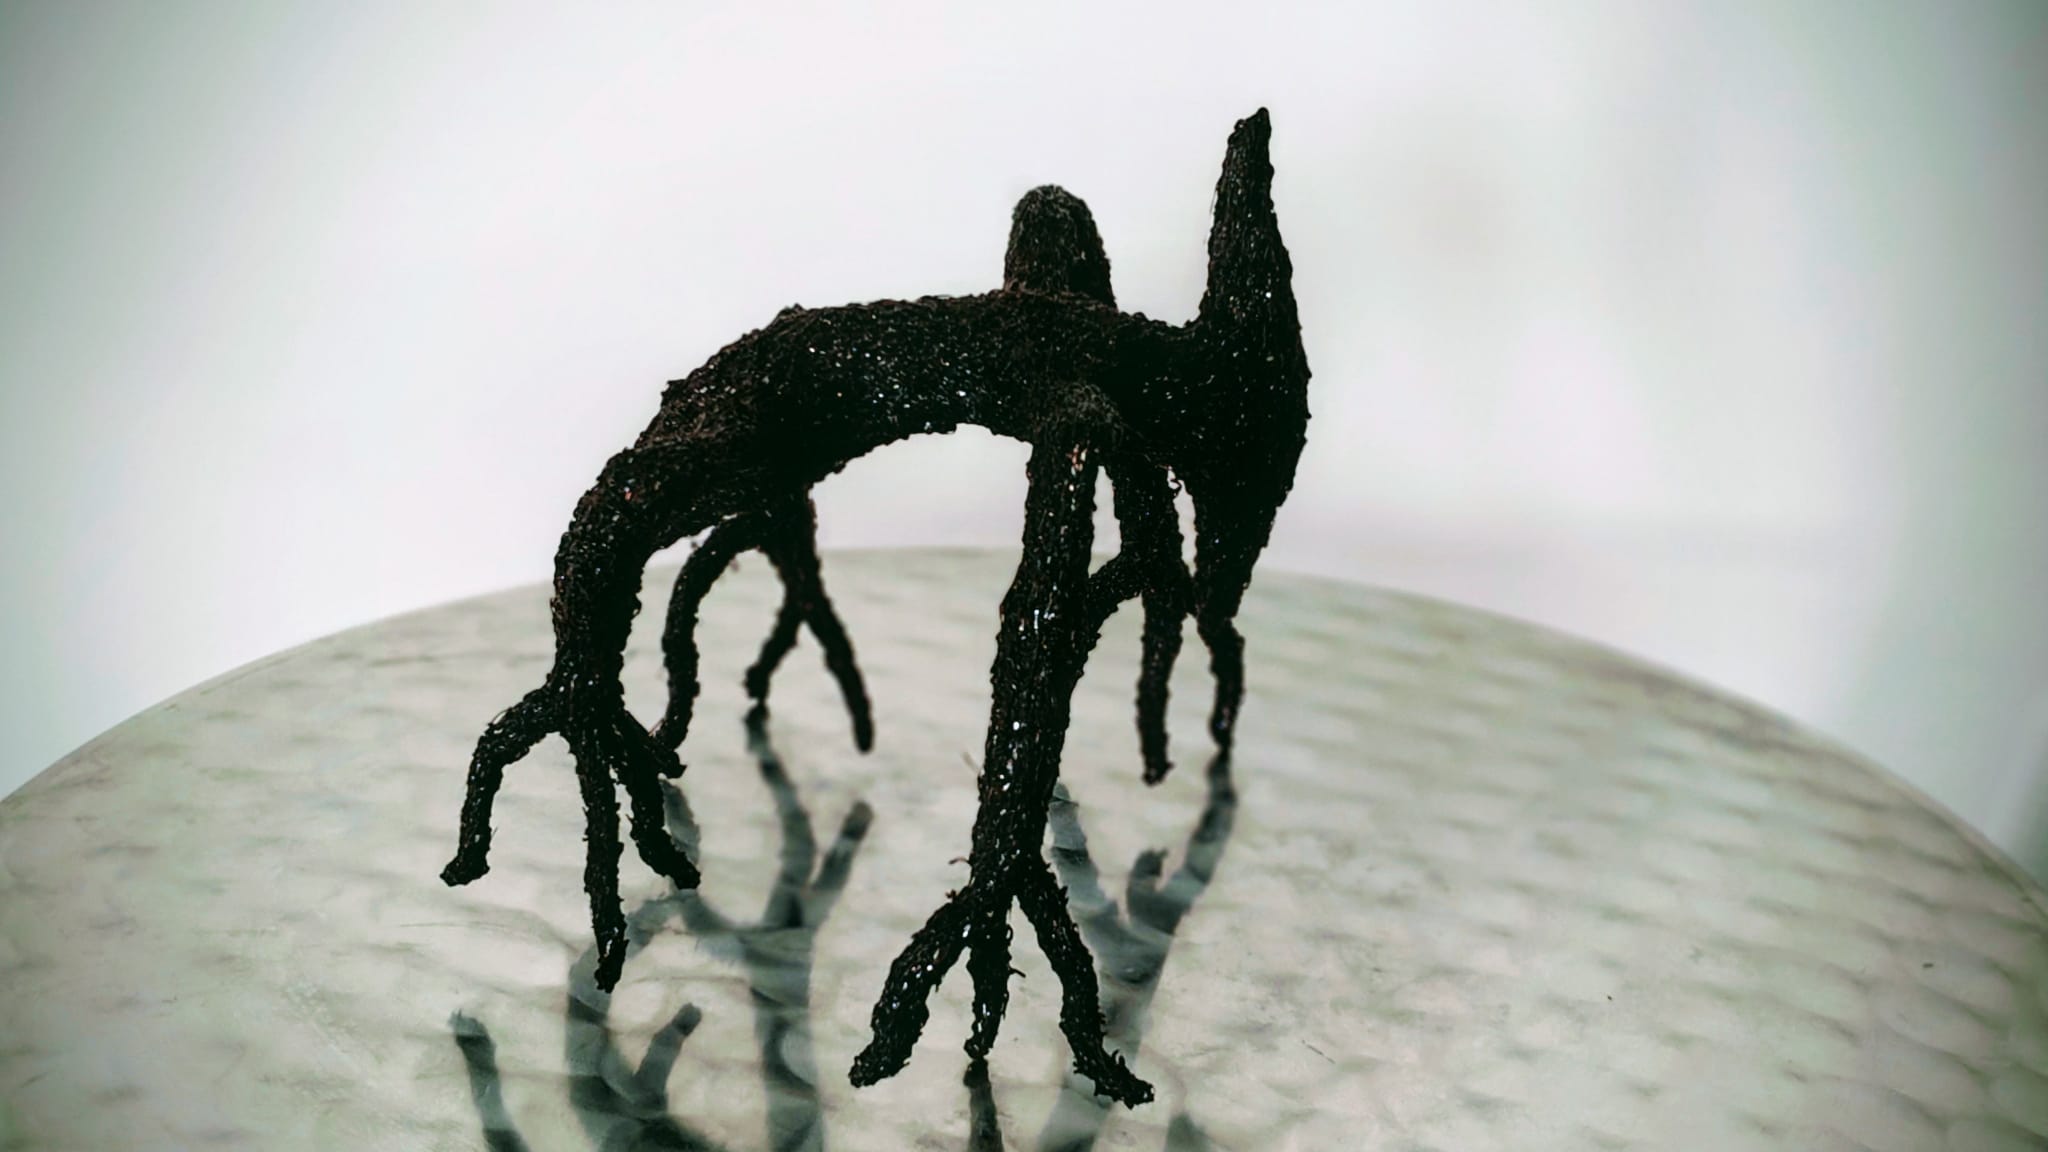
Why Use Aluminium Foil + 3D Pen?
Aluminium foil offers several advantages as an internal structure:
- Lightweight and inexpensive
- Easy to bend, twist, and reshape
- Strong enough to support complex poses
- Excellent heat tolerance for 3D pen plastic
Paired with a 3D pen, foil becomes the foundation for highly organic forms that would be difficult to model digitally.
Materials & Tools
- Aluminium foil (heavy-duty preferred)
- 3D pen
- PLA or ABS filament (black or dark brown recommended)
- Needle-nose pliers
- Craft knife or scissors
- Heat-resistant work surface
- Optional: acrylic paints, clear coat, fine sandpaper
Step 1: Designing the Creature
Before building, sketch or mentally map the creature:
- Elongated body
- Multiple legs or tendrils
- Raised head or crest
- Asymmetrical, unsettling silhouette
Think in terms of gesture first—the overall pose is more important than fine detail at this stage.
Step 2: Building the Aluminium Foil Armature
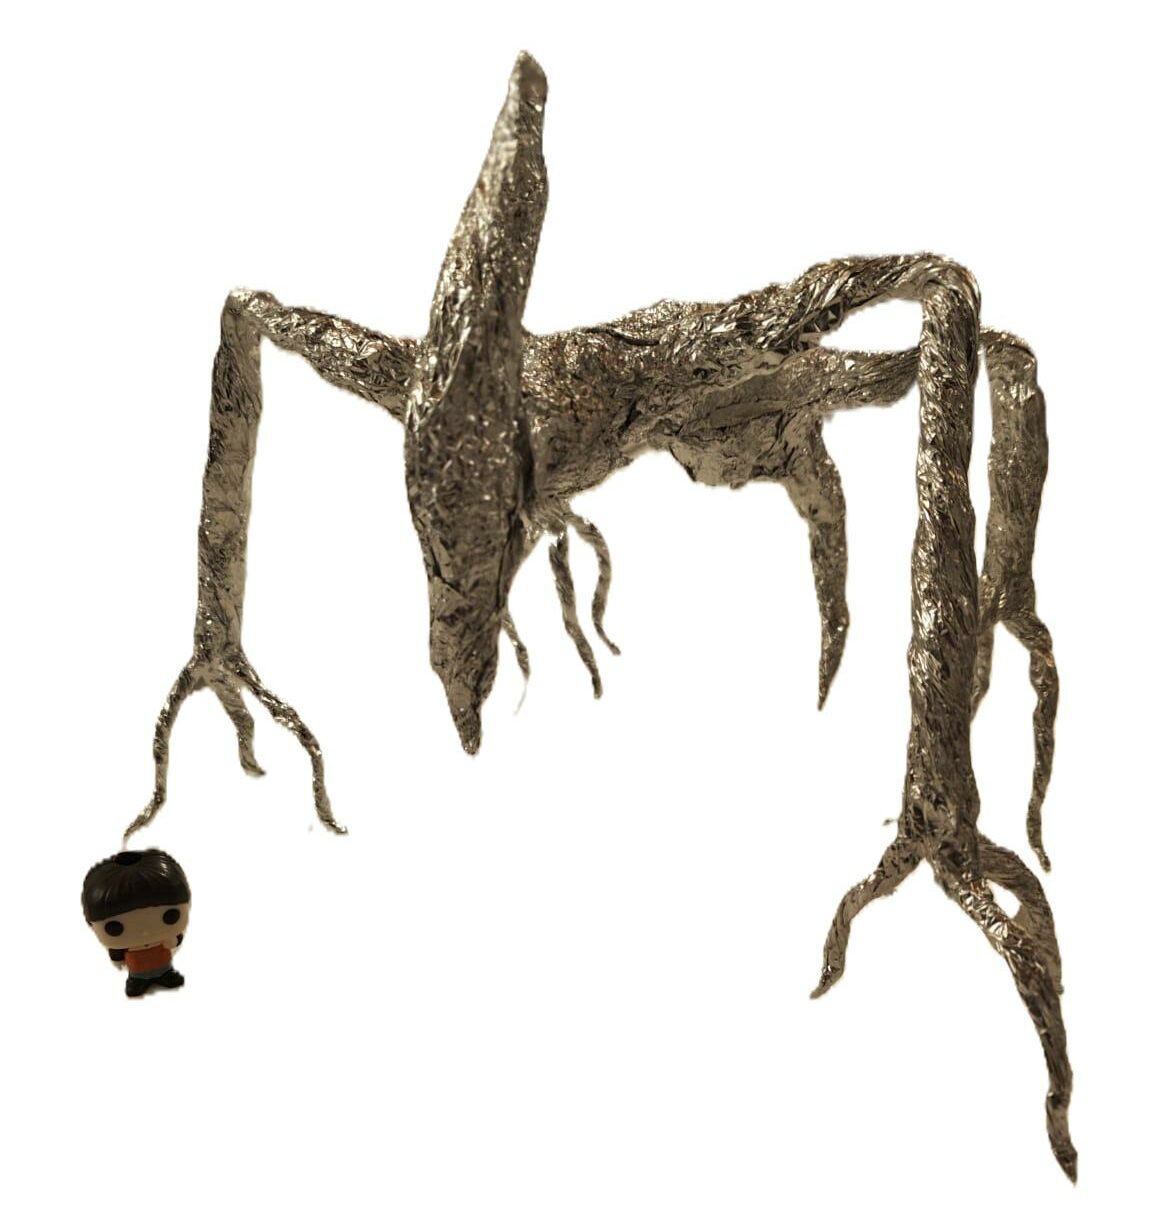
Tear strips of foil and twist them into thick cords. These become:
- Spine
- Legs
- Arms/tentacles
- Head structure
Join pieces by wrapping additional foil around the joints and compressing firmly.
Tip:
Work from the core outward. Create the torso first, then attach limbs, then smaller appendages.
At this stage, focus on:
- Balance
- Stability
- Clear separation between limbs
The armature should stand on its own before moving forward.
Step 3: Refining the Shape
Once the basic skeleton is complete:
- Add extra foil to bulk out muscles or body mass
- Pinch and compress areas to sharpen angles
- Smooth large surfaces by pressing with fingers or pliers
This step defines the creature’s anatomy and proportions.
Step 4: First 3D Pen Layer (Structural Skin)
Set the 3D pen to a moderate temperature suitable for your filament.
Begin coating the foil:
- Start with thin lines
- Trace along limbs and joints
- Build a web of plastic rather than solid walls
This first layer acts as a shell, locking the foil in place.
Rotate the sculpture frequently to avoid sagging.
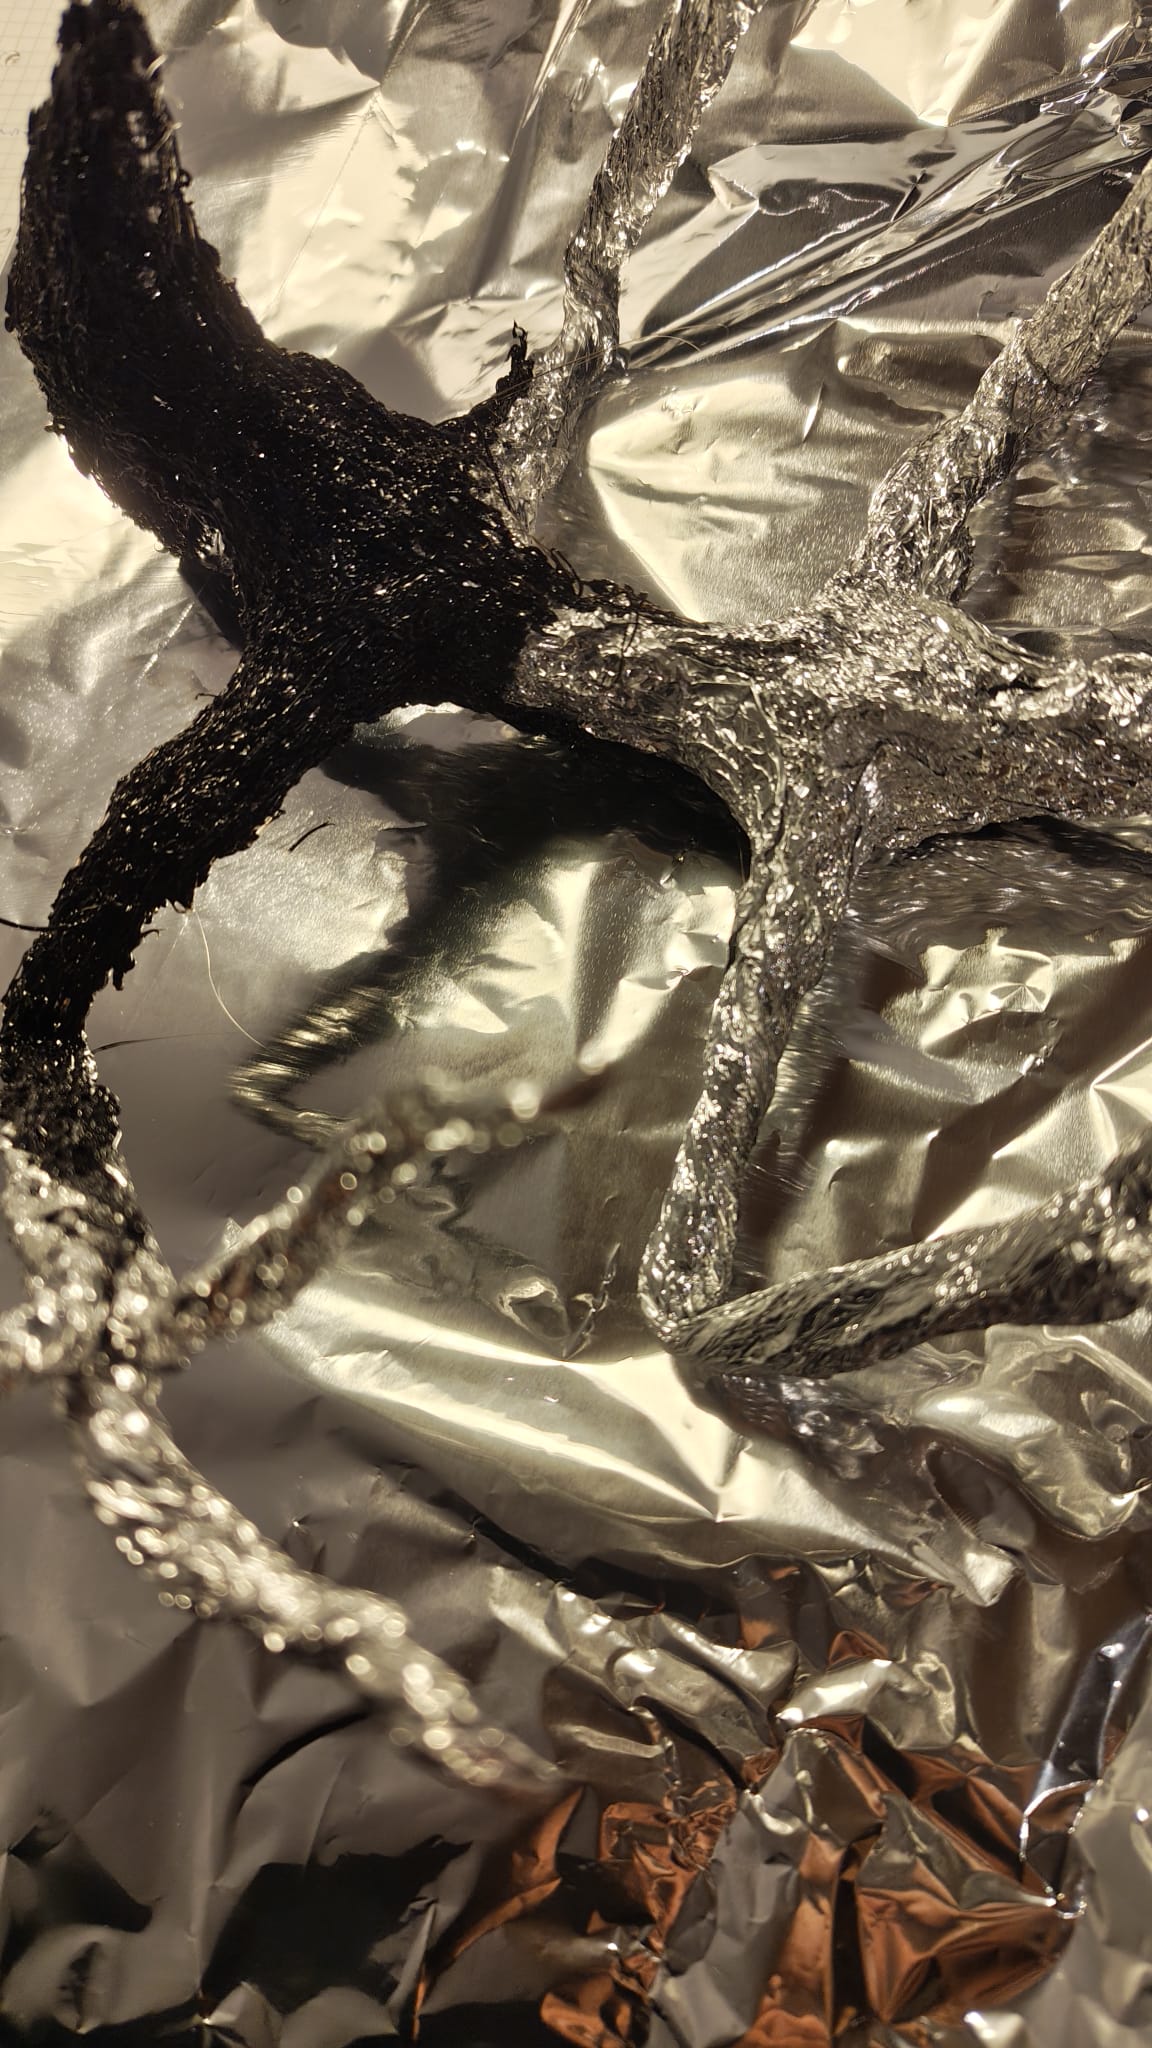
Step 5: Thickening and Texturing
After the shell hardens:
- Add additional layers to strengthen weak areas
- Vary line thickness to create organic texture
- Use short, broken strokes to simulate rough skin
For a Mind Flayer aesthetic:
- Emphasize uneven surfaces
- Add ridges and lumps
- Create dangling tendrils beneath the head
Imperfection is your ally here.
Step 6: Defining Details
Use the 3D pen like a sculpting tool:
- Draw sharp creases for joints
- Add layered strands for tentacles
- Build spikes, crests, or horn-like structures
If mistakes occur, let plastic cool, then trim with a craft knife.
Step 7: Optional Finishing
If you want a more polished look:
- Lightly sand rough areas
- Apply acrylic paint (dry brushing works well)
- Seal with matte or satin clear coat
Dark tones with subtle highlights enhance the creature’s depth.
Step 8: Display and Photography
Place the creature on a reflective or neutral surface. Strong directional lighting will cast dramatic shadows and emphasize its silhouette.
Consider photographing from low angles to enhance scale and menace.
Final Thoughts
This aluminium foil + 3D pen method opens up huge creative possibilities:
- Custom monsters
- Fantasy creatures
- Sci-fi aliens
- Stop-motion puppets
Each piece will be unique, and that’s part of the charm. The process encourages experimentation, improvisation, and hands-on problem solving.
If you’re looking to push your 3D pen beyond flat drawings and into true sculpture, this technique is a powerful place to start.
Happy building!